

Transform your Who Gives A Crap packaging into a collection of mini piñata charms with craft-based designer Kitiya Palaskas. These pint-sized piñatas make the perfect present toppers, hanging ornaments, gift tags or party favours. Personally, we think they’re too cute to smash, but if you did want to make-then-break, just fill them up with tiny candy and paper confetti and you’re good to go!

You will need
An empty Who Gives A Crap cardboard box
Assorted Who Gives A Crap toilet roll wrapping
Template sheet
Yarn or string
Assorted beads (upcycle an old necklace or find one at your local op shop!)
Masking tape
Double-sided tape
Scissors
Cutting knife
Ruler
Pencil

Step 1
Prepare your piñata pieces! First, print out the template sheet and cut out your template. (There are three shapes to choose from!) Then, trace and cut 2 templates from a piece of the cardboard box. These will form the front and back panels of your piñata. Cut a long strip of cardboard approximately 2cm x 45xcm in size. This will form the side panel of your piñata.
Step 2

To stick the side panel strip to the first panel (let’s call it the front panel), start at the top of the shape and, with the side strip flush along the panel edge, attach the two using short strips of masking tape at regular intervals.
Handy tip
To create a sharp fold at corners or indents try this: while you’re sticking the side panel strip to the front panel, affix it all the way up to the corner, then flip the piñata onto its side and use the ruler and the knife to gently score a line across the side panel strip at the exact position of the corner. This creates a neat crease, allowing you to fold the side panel strip snugly around the corner of the shape.
Step 3

Cut a length of string approximately 70cm long. Fold it in half and tie a main knot 14cm down to form a loop with two tails. Thread some beads onto the two tails and knot each at the bottom to keep the beads from slipping off.
Step 4

To create a hanging tassel for your piñata, flatten out your sheets of toilet roll wrapping and cut 15 thin strips (each 30cm x 0.5cm in size) in an assortment of different colours. Bunch these together and use the beaded tails to tie them onto your string loop, just below the main knot.
Step 5

Use the cutting knife to create a small slit in the top and bottom of your piñata. Thread the string loop up through the piñata (from bottom to top) and pull until the tassel fits snugly underneath. The loop can now be used to hang your piñata.
Step 6

Stick the remaining panel on with tabs of masking tape, sealing your pinata closed. Cover both the front and back panels with double-sided tape. Remove the backing paper from one panel and set the piñata aside for now. You’ll come back to it in a minute.
Step 7

Using another sheet of toilet roll wrapping, cut 4-5 thin strips (2.5cm x the full length of the sheet) and 1 slightly thicker strip (3cm x the full length of the sheet). Set the thicker strip aside for later.
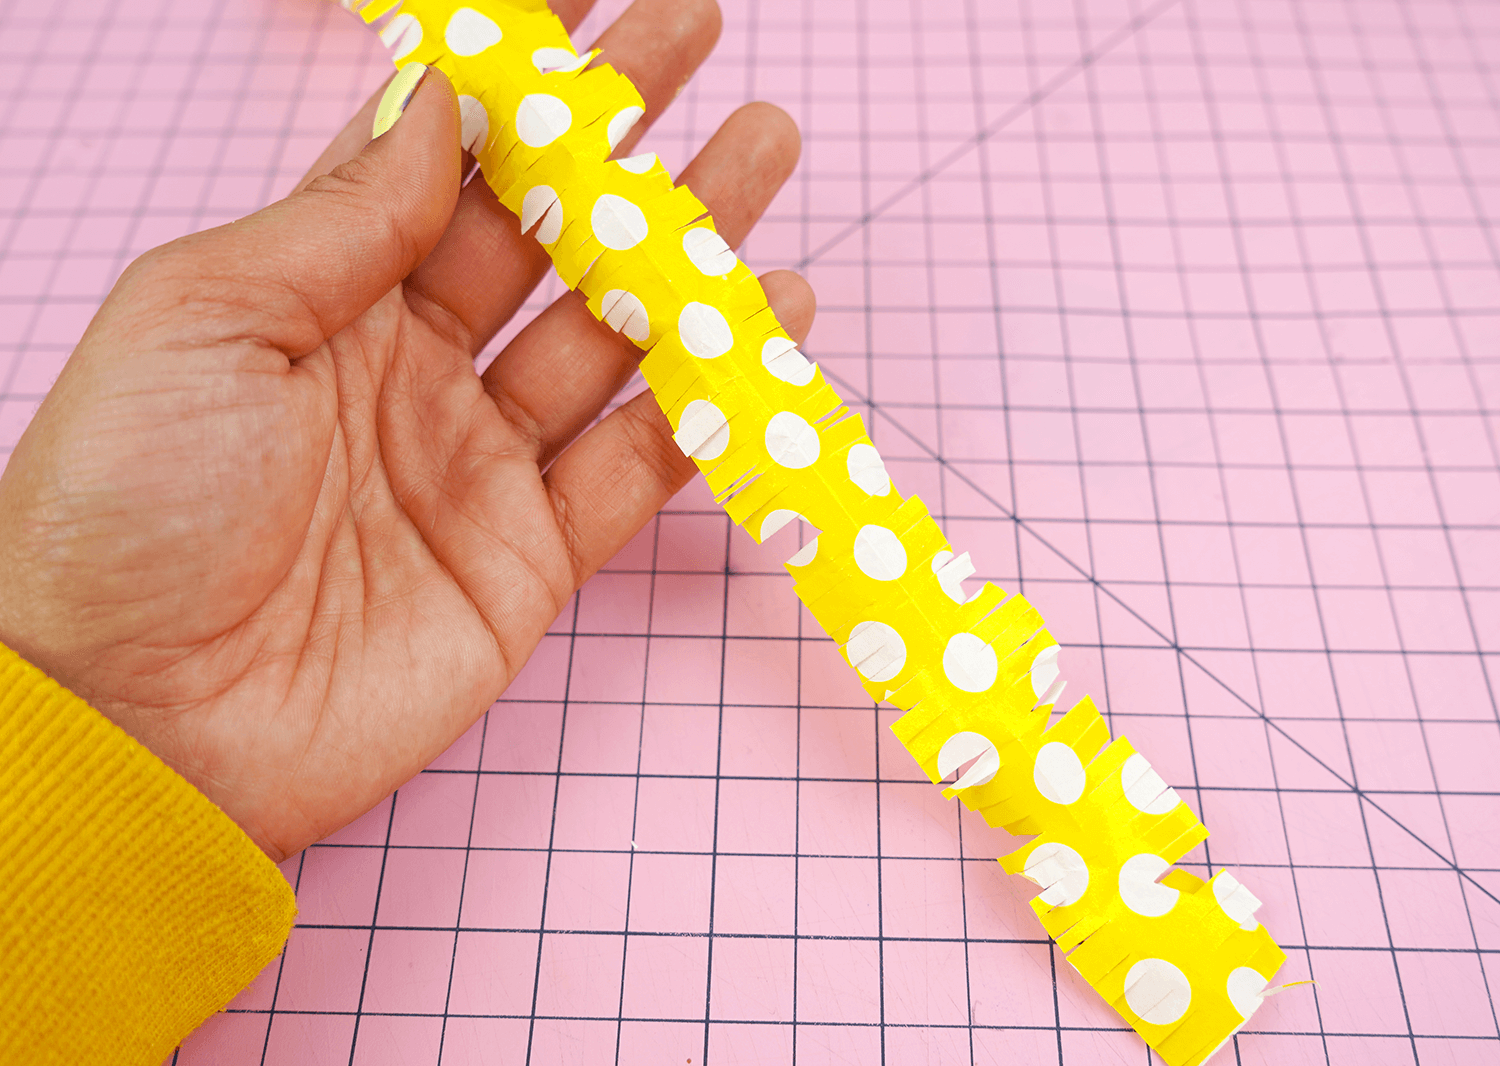
Step 8

To create some fringe for your piñata, fold each thin strip into a bundle. Use your scissors to cut tiny slits all the way along one edge of this bundle, leaving approximately 0.5cm uncut at the top (ie: don’t cut all the way through!) Unravel the bundle and you’ll have a bunch of small fringed segments!
Step 9

To cover your piñata, start with the panel that you removed the double-sided tape backing paper from in Step 6. Attach the fringe in rows, working from bottom to top, layering each segment on top of the next. When you have covered this panel, trim the excess fringe along the edge of your piñata. Repeat this on the remaining panel.
Step 10
Take the thicker paper strip from Step 7 and fold it in half along the long edge. Cut tiny slits all the way along the open edge, then unfold. You should now have a strip that is fringed on both sides.
Step 11
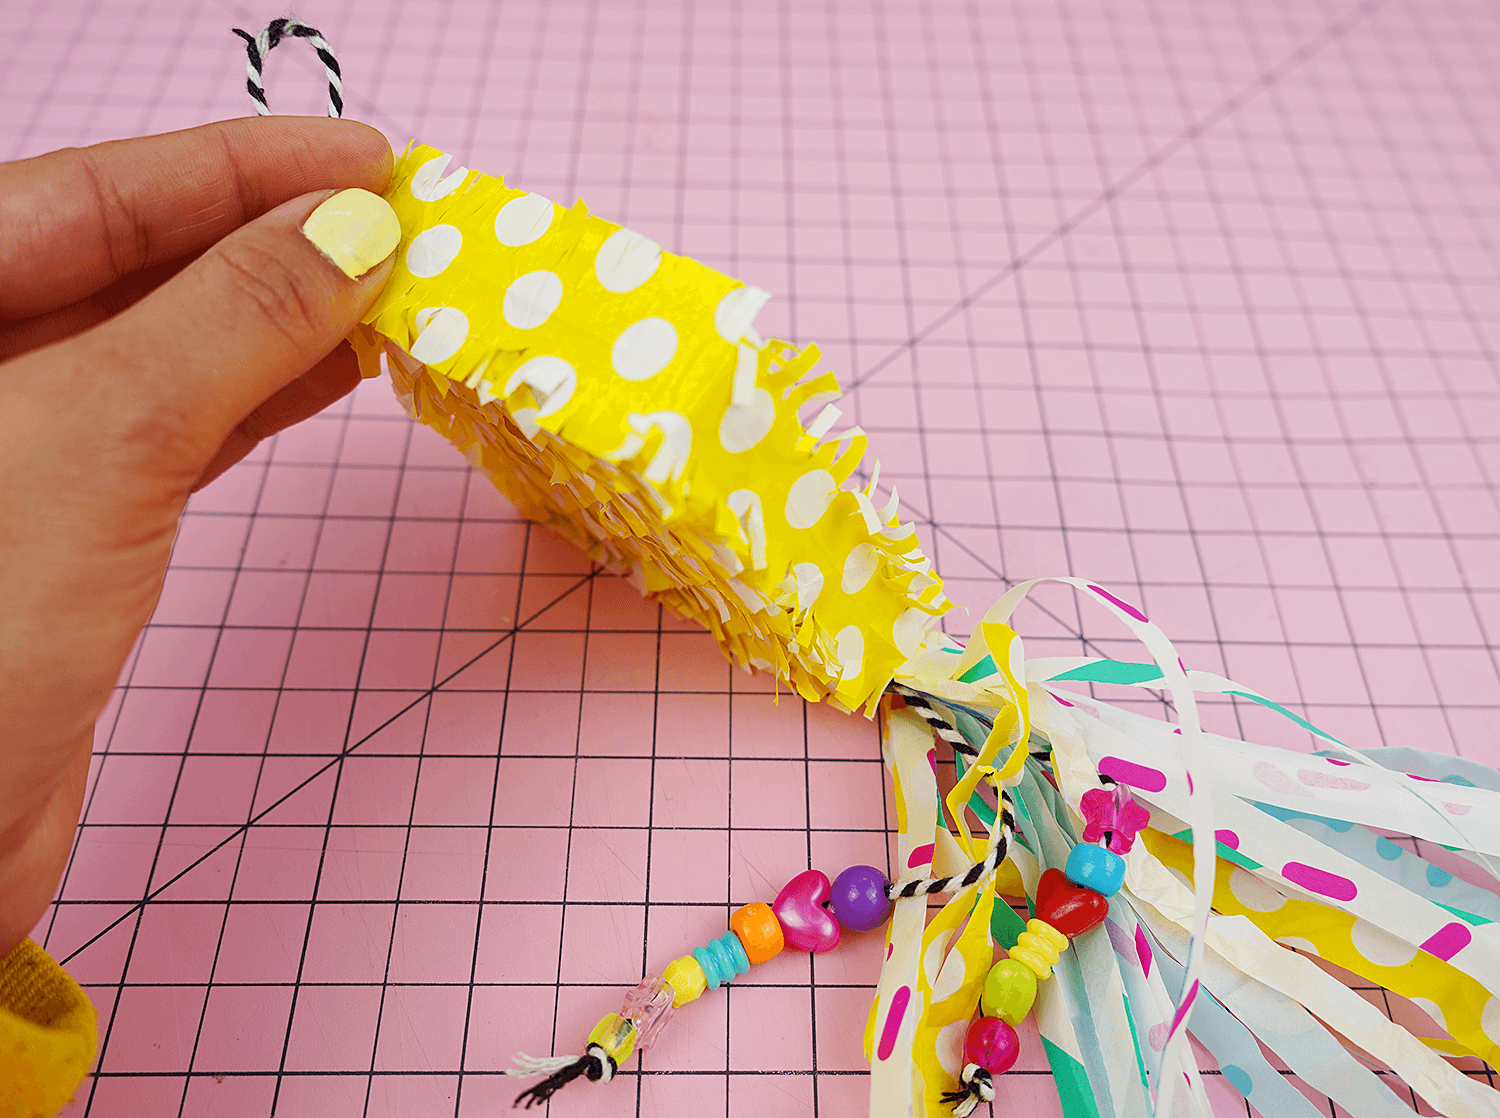
Affix a long piece of double-sided tape all the way around the side panel strip of your piñata. Remove the tape’s backing paper and stick your double-fringed around the edge. Your piñata should now be fully covered and ready to party!
Note: Dispose of your “craftermath” thoughtfully! Recycle any cardboard or paper offcuts. Dispose of the plastic backing from the double-sided tape in your local Redcycle soft plastics recycling bin (found at major supermarkets). Supersize this project! To make large versions of these piñatas, take the template sheet to your local print/copy shop and enlarge it to an A1 plan print.