

Look, origami can be tricky. We know! And based on recent experience, it’s not that easy to put into words, either. But we’ve given it a red-hot go, and the truth is, these festive crafts aren’t actually as hard as they look. Plus you seem pretty dextrous, so we have every faith in your folding skills. Godspeed!
A festive bow

Step 1
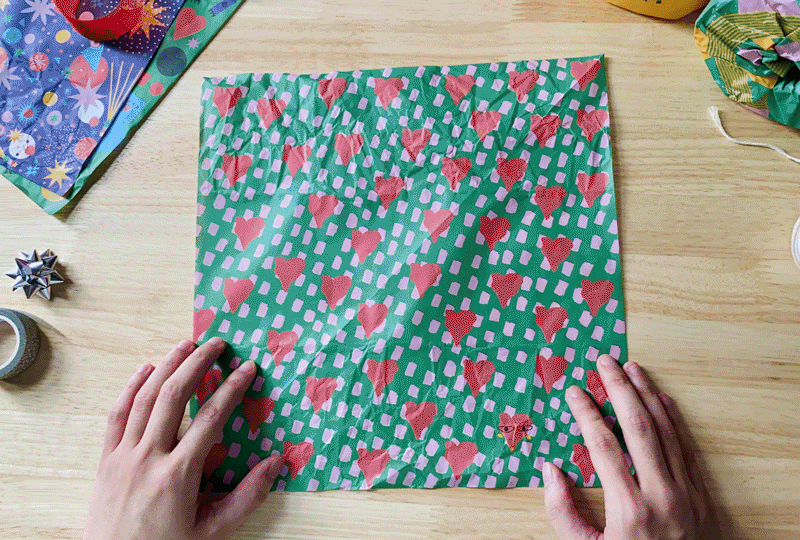
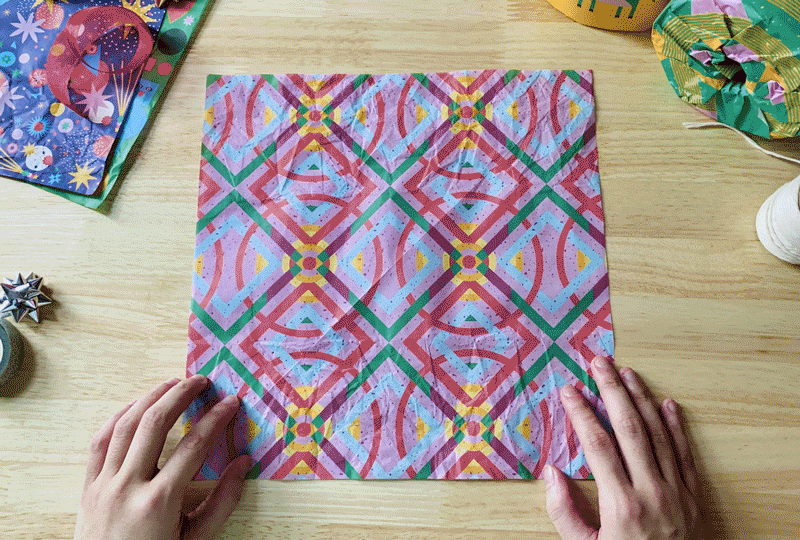
Trim a wrapper into a square and place it on the table white side up.
Step 2
Fold diagonally corner to corner in both directions, folding then unfolding so you’re left with a criss-cross crease.
Step 3
Cut out the bottom triangle formed by the creases, then fold the sheet in half vertically.

Step 4
Step 4
Cut a slight curved shape from top to bottom on the longer side. Then snip out a narrow triangle strip.
Step 5
Unfold your wrapper, then fold the bottom triangle all the way up to the top so it’s pattern side up.
Step 6
Rotate everything 180 degrees.

Step 7
Step 7
Fold the four pointy corners of the paper ‘wings’ into the centre, without pressing them flat. Glue them down (you can add a fun shape on top if you like!)
Step 8
Cut a smaller triangle from the bottom part to create your bow’s dangly ribbons. Curl the strips a little for some extra festivity, and ta-da: you’re done!
A heart-shaped box
Step 1
Start with a square wrapper white side up.
Step 2
Fold (then unfold) it in half vertically and horizontally to create creases.
Step 3

Step 6
Turn the wrapper over and fold creases in along both diagonals.
Step 4
Fold all four corners into the centre, then unfold.
Step 5
Fold two opposite corners to the point where the lines intersect (it should create mini triangles!).
Step 6
Using the existing horizontal lines, fold the edges inward again. Then while you’re at it, do it one more time so they meet in the middle.
Step 7

Step 7
Full disclosure: things get a little trickier from here. But don’t give up! Fold two edges out to meet the centre vertical line, then flatten it all out.
Step 8
Fold the bottom pointy corner up to where the lines intersect, then do the same with the top and left-hand corners.

Step 9
Step 9
Fold the flap you’ve created in half vertically.
Step 10
Repeat steps 7-9 on the other side till you have a neat little square.
Step 11

Step 11
Fold six of the corners behind to form a heart shape.
Step 12
Pull the two sides of the heart apart and - look! - you have a loved-up little box.
A hanging ornament
Step 1
Start with a square wrapper, coloured side up.
Step 2
Fold along both diagonals, then fold in half vertically and horizontally.

Step 3
Step 3
Collapse inwards along existing lines.
Step 4
Fold two edges in to meet the centre line, then unfold.
Step 5
Push the two edges inwards using the folds from step 4.

Step 7
Step 6
Repeat steps 4 and 5 on the other six edges.
Step 7
Now it should look like a long, (hopefully) neat diamond.
Step 8
Fold the bottom corner up, then unfold. Push the corner inwards using the fold line you’ve created.

Step 9
Step 9
Repeat step 8 on the other three corners. Now it should look a simple triangle., like the pic to the right.
Step 10
Fold the bottom edges to meet the centre line, then unfold. After, push the two corners inside using the folds you’ve created.

Step 12
Step 11
Repeat step 10 on the other six edges.
Step 12
This is what it should look like from the bottom! And that’s unit 1 complete. Great job.
Step 13

Step 14
Make another unit by repeating steps 2 to 11 on a second wrapper.
Step 14
Now take some thread and fold it in half. Create a loop at the end then tie a knot.
Step 15
Cut off a tiny corner at the tip of one of your creations and insert the thread through (the knot should act as a stopper).

Step 17
Step 16
Apply glue along the inner flaps of the unit with the hanger, then attach the adjacent flaps from your other unit so they’re combined.
Step 17
Glue the rest of the adjacent flaps together, and you’re done. Phew. Well done, you!
Ready to go?
Great! All you need is some really, really ridiculously good-looking toilet paper.
And when you’re done folding, unfolding then folding some more, feel free to show off your creations by tagging @whogivesacraptp on Instagram.